


Views: 0 Author: Site Editor Publish Time: 2026-08-21 Origin: Site


A worn transmission mount might seem like a minor issue, but ignore it long enough and you'll feel the consequences in every drive. Clunking noises, excessive vibration, and difficulty shifting gears are all signs that something underneath your vehicle needs attention. The good news? This is a repair that many mechanically inclined vehicle owners can handle at home with the right guidance and parts.
This guide walks you through the full process of how to change a transmission mount, from identifying the warning signs to completing the replacement safely and correctly.
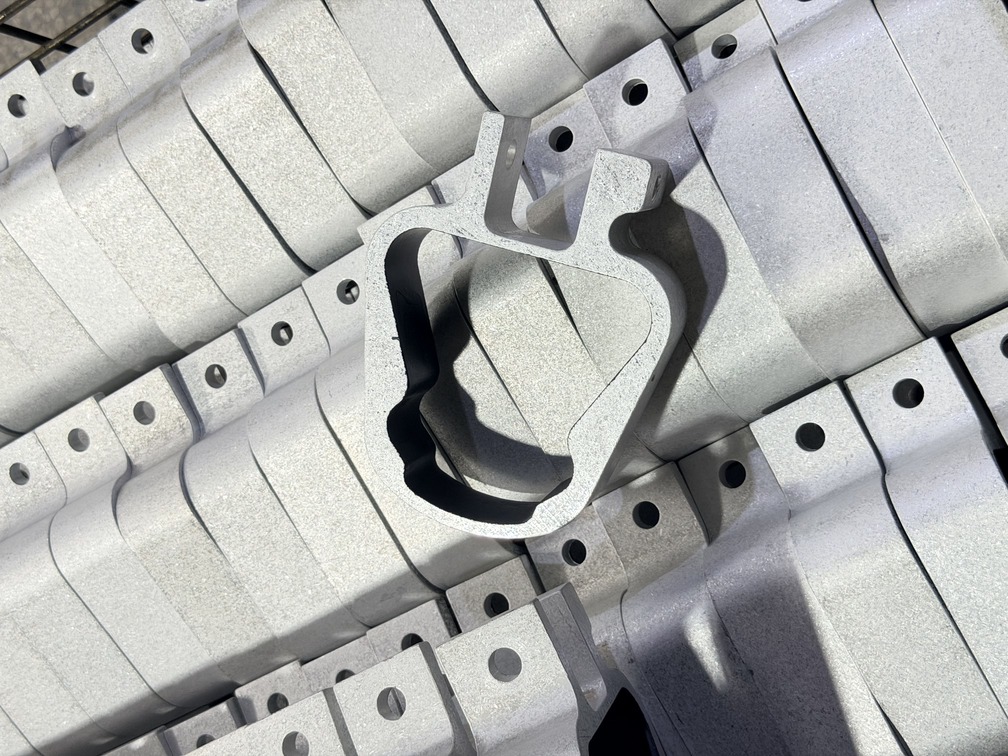
The transmission mount is a rubber-and-metal component that secures your transmission to the vehicle's chassis. Its job is twofold: keep the drivetrain in the correct position and absorb the vibrations generated by the engine and transmission during operation.
Over time, the rubber portion deteriorates due to heat, oil exposure, and general wear. Once it fails, the transmission shifts position—sometimes slightly, sometimes dramatically—leading to drivability issues that worsen the longer they go unaddressed.
Before picking up a wrench, confirm that the transmission mount is actually the problem. Here are the most common symptoms:
Symptom | What It Means |
|---|---|
Clunking or thudding when shifting | Transmission moving under load due to a failed mount |
Excessive vibration in the cabin | Rubber isolator no longer absorbing drivetrain movement |
Grinding or impact noises at idle | Mount has collapsed, allowing metal-on-metal contact |
Visible cracking or sagging on mount | Rubber has deteriorated and needs immediate replacement |
Vehicle pulls to one side during acceleration | Drivetrain misalignment caused by mount failure |
If you're seeing two or more of these signs together, it's time to act.
Getting organized before you start saves time and prevents mid-job frustration. Here's what to gather:
Floor jack and jack stands (rated for your vehicle's weight)
Socket set and ratchet (metric and standard)
Torque wrench
Penetrating oil (for rusted bolts)
Pry bar
Transmission jack or a block of wood for support
Replacement transmission mount
For the replacement part itself, quality matters. Kaiping Suhong Auto Parts Co., Ltd. has been manufacturing precision auto parts since 1995, using Thailand RSS3 and Vietnam SVR3L rubber compounds for superior durability and vibration damping. Their catalog covers a wide range of vehicle makes—including Toyota, Honda, Nissan, Mazda, BMW, and Benz—so finding the right fit is straightforward.
Park on a flat, stable surface. Apply the parking brake and chock the rear wheels. Raise the vehicle using your floor jack, then place jack stands under the vehicle's frame. Never work under a vehicle supported only by a floor jack.
The transmission mount is typically found at the rear or underside of the transmission housing, bolted to a crossmember. Consult your vehicle's service manual for the exact location, as it varies by make and model.
Before unbolting anything, place a transmission jack or a piece of wood with a floor jack under the transmission pan. You need to support the drivetrain's weight before removing the mount—otherwise, the transmission drops the moment the mount is free.
Spray penetrating oil on any rusted hardware and allow it to soak for 10–15 minutes. Then remove the bolts securing the mount to the crossmember and transmission. In some vehicles, you may need to remove the crossmember itself for full access. Once unbolted, lift the transmission slightly with the jack and pull the old mount free.
This is where mounting engine and transmission components correctly becomes critical. Position the new mount carefully, aligning all bolt holes before threading in any fasteners. Start all bolts by hand to avoid cross-threading, then tighten in a cross pattern to ensure even seating. Use a torque wrench to tighten to your manufacturer's specified torque value—do not guess.
Lower the transmission back to its resting position once the mount is secure. Reattach any crossmember components you removed. Lower the vehicle off the jack stands and take it for a short test drive. Accelerate, decelerate, and shift through the gears. The clunking and vibration should be noticeably reduced or completely gone.
For most vehicles, this repair takes between 1 and 3 hours. Older vehicles with corroded hardware or limited underbody access can take longer. If you encounter a seized crossmember or extensive rust, don't force it—stripped bolts and broken fasteners turn a simple job into a much bigger one.
Not all transmission mounts are equal. The rubber compound, bonding process, and dimensional accuracy all affect how well the mount performs and how long it lasts. Cheap aftermarket parts often use lower-grade rubber that degrades quickly, leading to repeat failures.
Kaiping Suhong Auto Parts Co., Ltd. manufactures engine and transmission mounts to ISO9001 standards, with a stable rubber formula and advanced production equipment ensuring consistent quality. Their SUHON and DIDN brands have earned recognition from customers across global markets. If you're looking for new engine mounts that deliver OEM-level performance, their product range is a reliable place to start.
This repair is manageable for a confident DIYer, but there are situations where professional help is the smarter choice:
The transmission must be fully dropped for access (common on some AWD and transverse-engine vehicles)
You lack a proper transmission jack or adequate jack stands
Significant rust or corrosion complicates disassembly
You're also addressing related drivetrain issues at the same time
In those cases, providing your mechanic with a quality OEM-spec replacement part—rather than relying on whatever their shop stocks—can still save you money while ensuring the repair holds up.
A failed transmission mount is one of those repairs that's easy to put off—until the symptoms get bad enough that driving becomes genuinely unpleasant. Catching it early, using quality parts, and following the correct installation procedure makes all the difference.
With more than 20 years of manufacturing experience and a product catalog covering major vehicle brands, Kaiping Suhong Auto Parts Co., Ltd. is a trusted source for replacement engine and transmission mounts.


