
 English
Views: 0 Author: Site Editor Publish Time: 2026-08-04 Origin: Site
TL;DR:
Replacing a motor mount requires lifting the vehicle safely, supporting the engine, unbolting the failed mount, and fitting a new OEM-spec replacement. The full process takes 2–4 hours with basic mechanical tools. Using a precision-engineered part—such as those manufactured by Kaiping Suhong Auto Parts Co., Ltd.—ensures long-term durability and a proper fit.
A worn motor mount rarely announces itself with a warning light. Instead, it makes itself known through excessive vibration, clunking sounds during gear changes, and an engine that rocks unnervingly under acceleration. Left unaddressed, a failing mount transfers stress to surrounding components—hoses, brackets, and drivetrain parts—turning a straightforward repair into something far more expensive.
This guide walks you through the entire replacement process, from diagnosis to installation, and explains why selecting the correct OEM-compatible part is just as important as the repair itself.

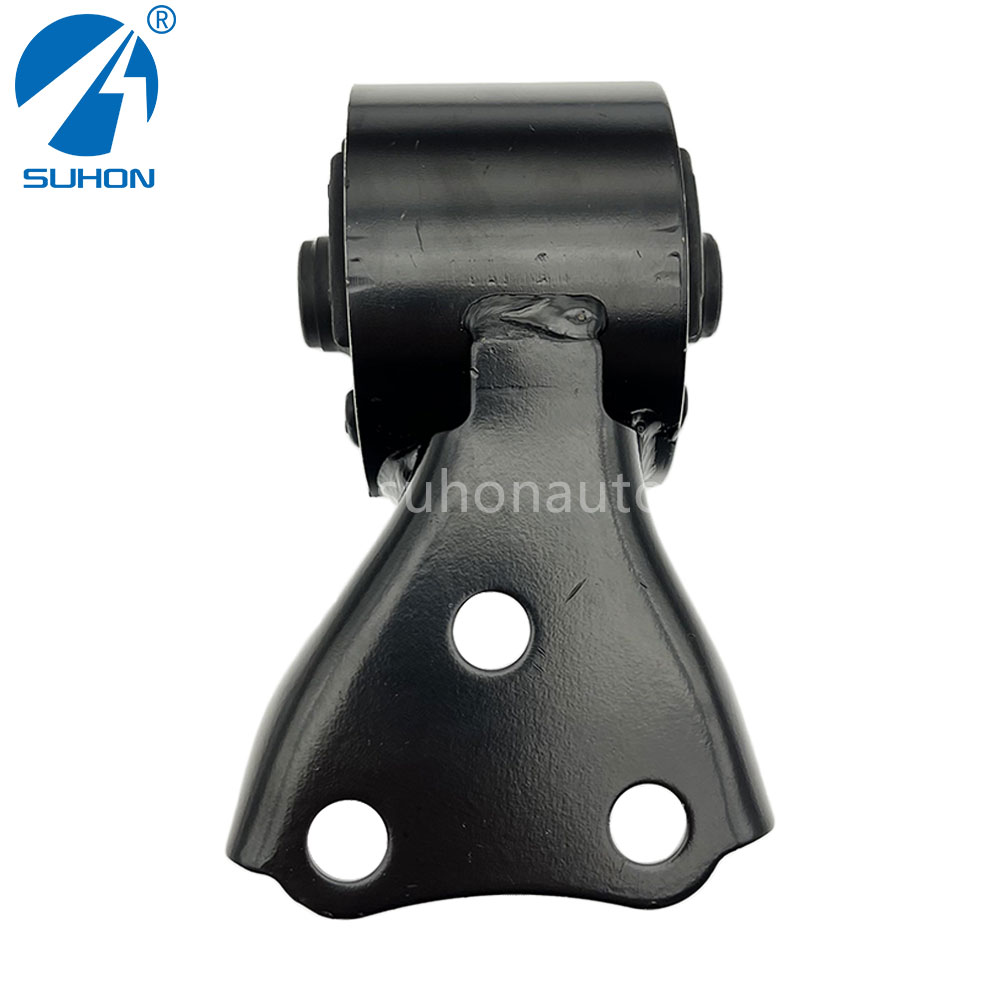
A motor mount is a rubber-and-metal bracket that secures the engine to the vehicle's chassis. Most vehicles use between two and four mounts, each serving a dual purpose: holding the engine in place and absorbing the vibration and torque it generates during operation.
The rubber core is the critical element. Over time, heat cycles, oil contamination, and general fatigue cause the rubber to crack, harden, or collapse entirely. Once that happens, the engine loses its cushioned restraint—and the vehicle loses ride comfort and mechanical stability.
Catching a worn mount early saves money and prevents secondary damage. Watch for these warning signs:
Excessive vibration felt through the steering wheel, floor, or seat
Clunking or thudding during acceleration, braking, or gear shifts
Engine movement visible when revving in park
Misaligned components such as sagging exhaust pipes or stressed hoses
Visible rubber cracking or separation when inspecting the mount directly
If two or more of these symptoms appear together, the mount has likely reached the end of its service life.
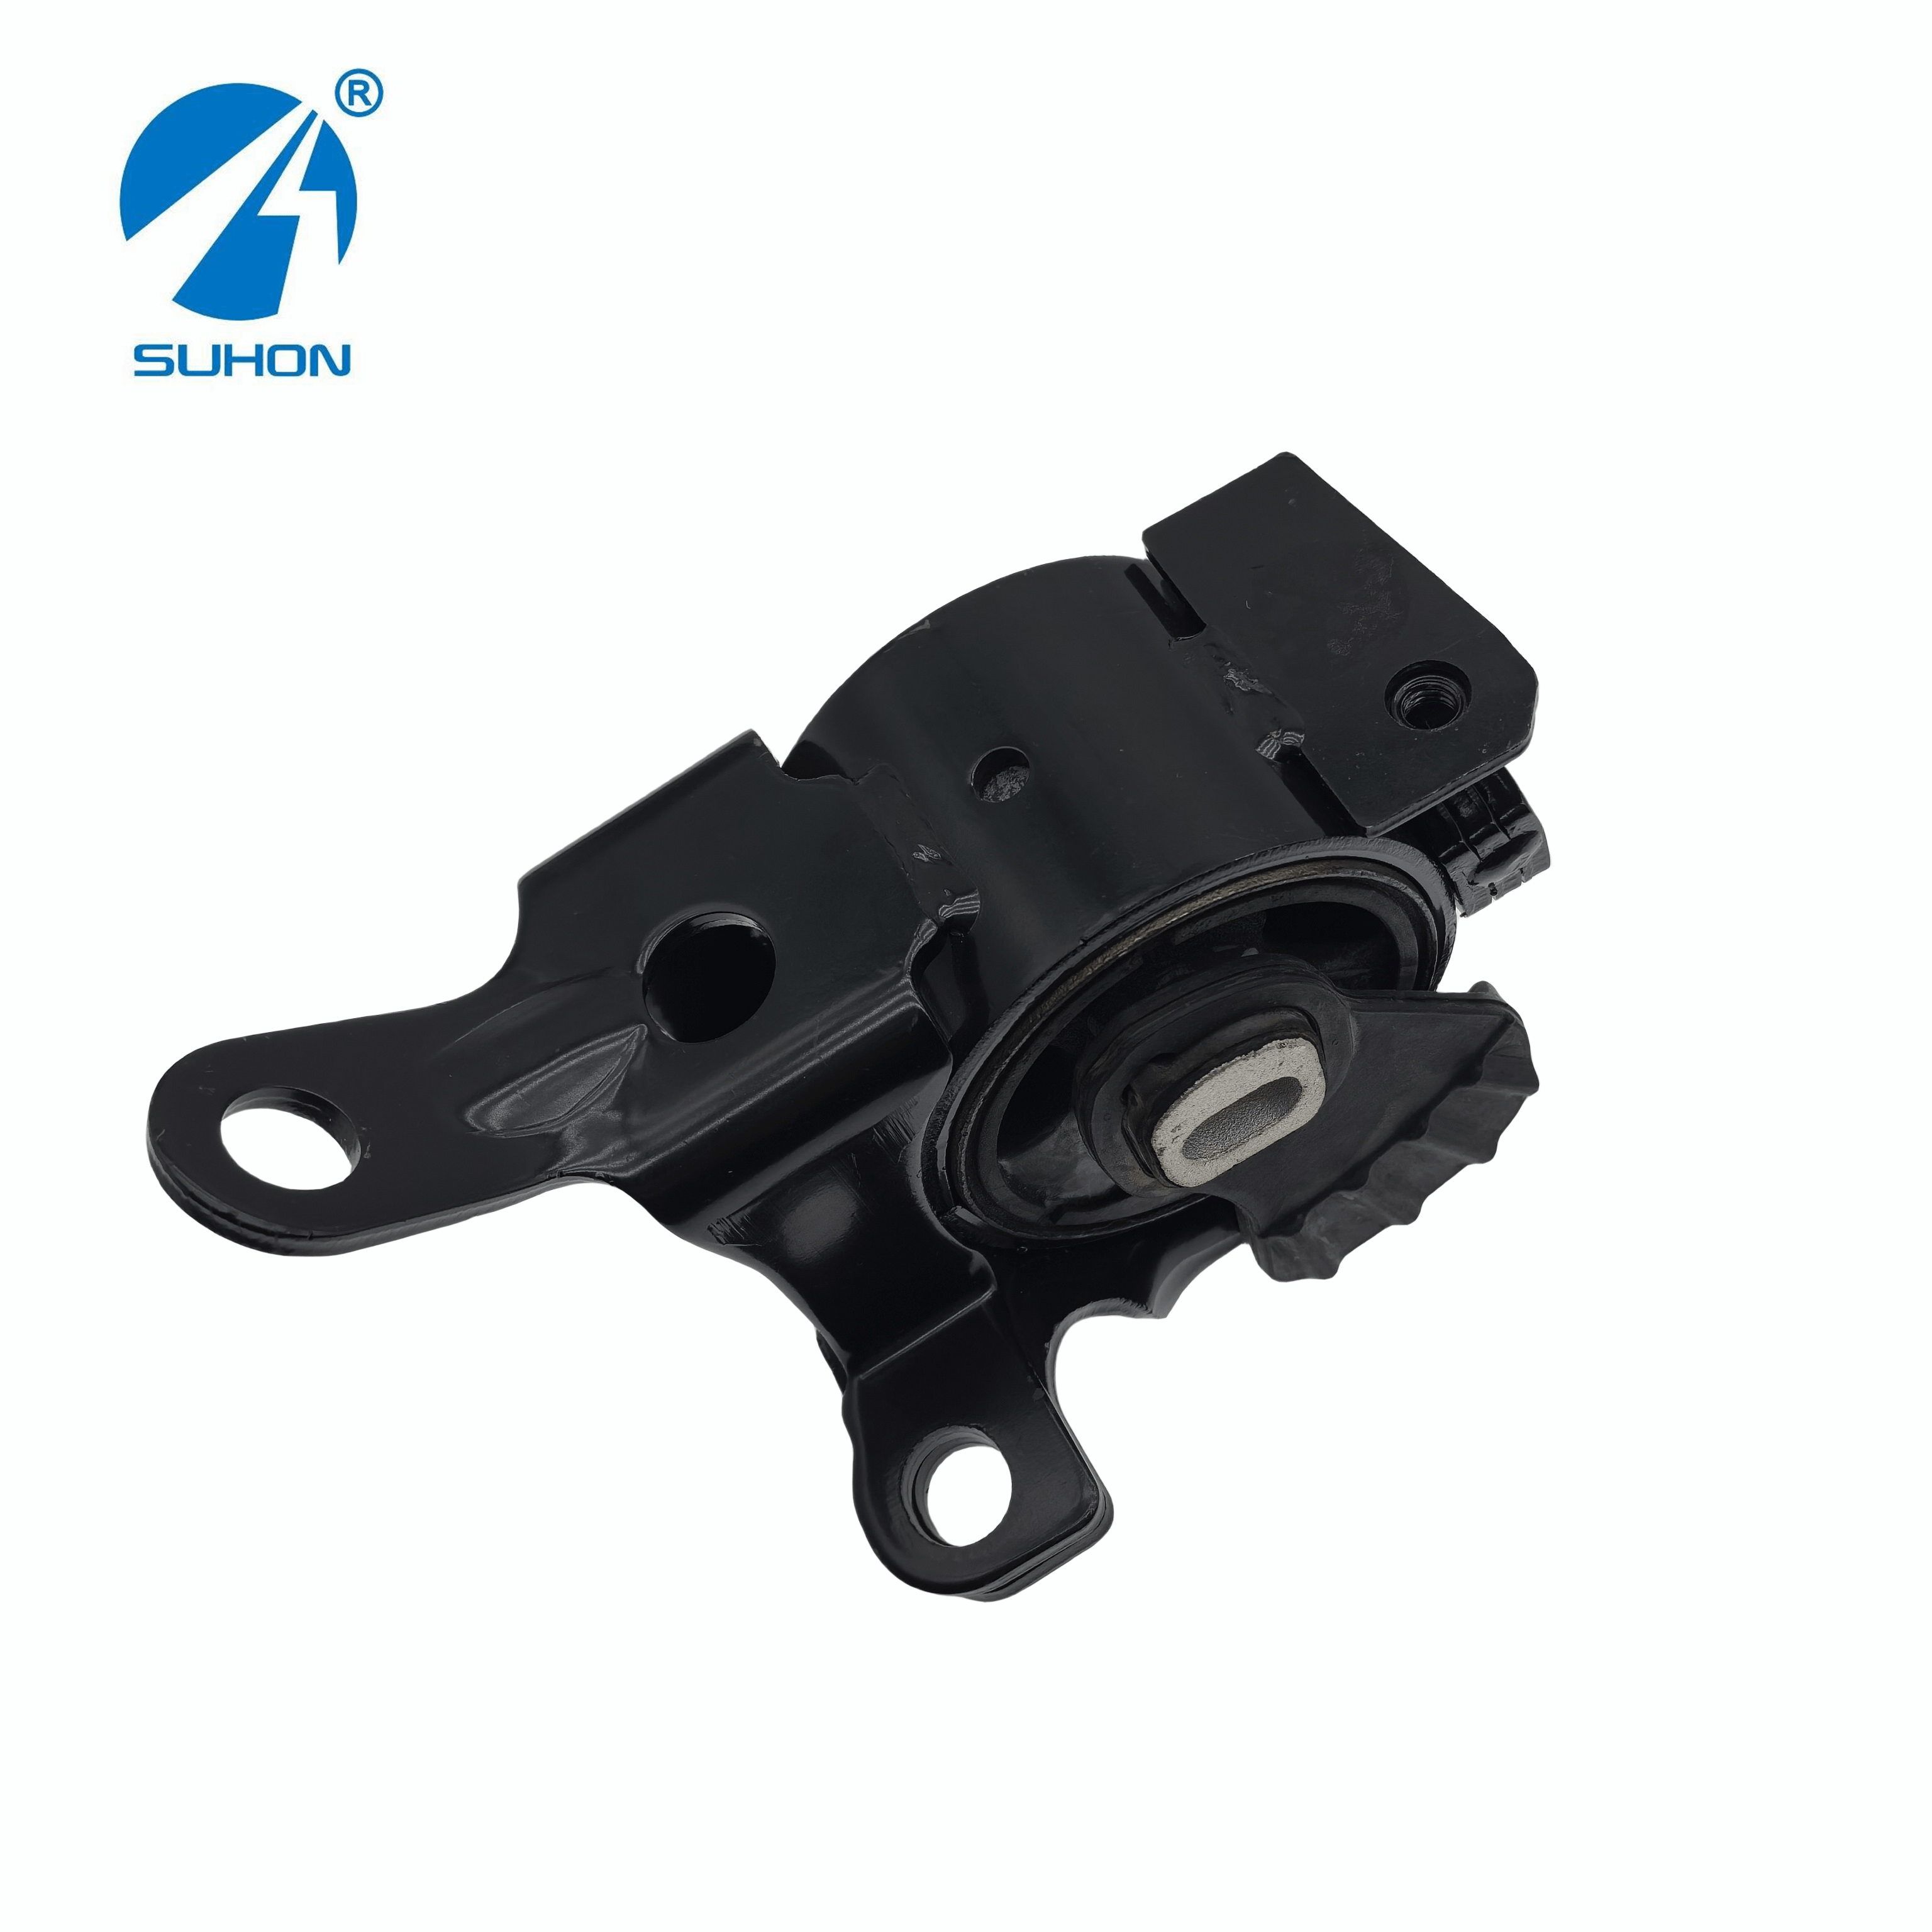
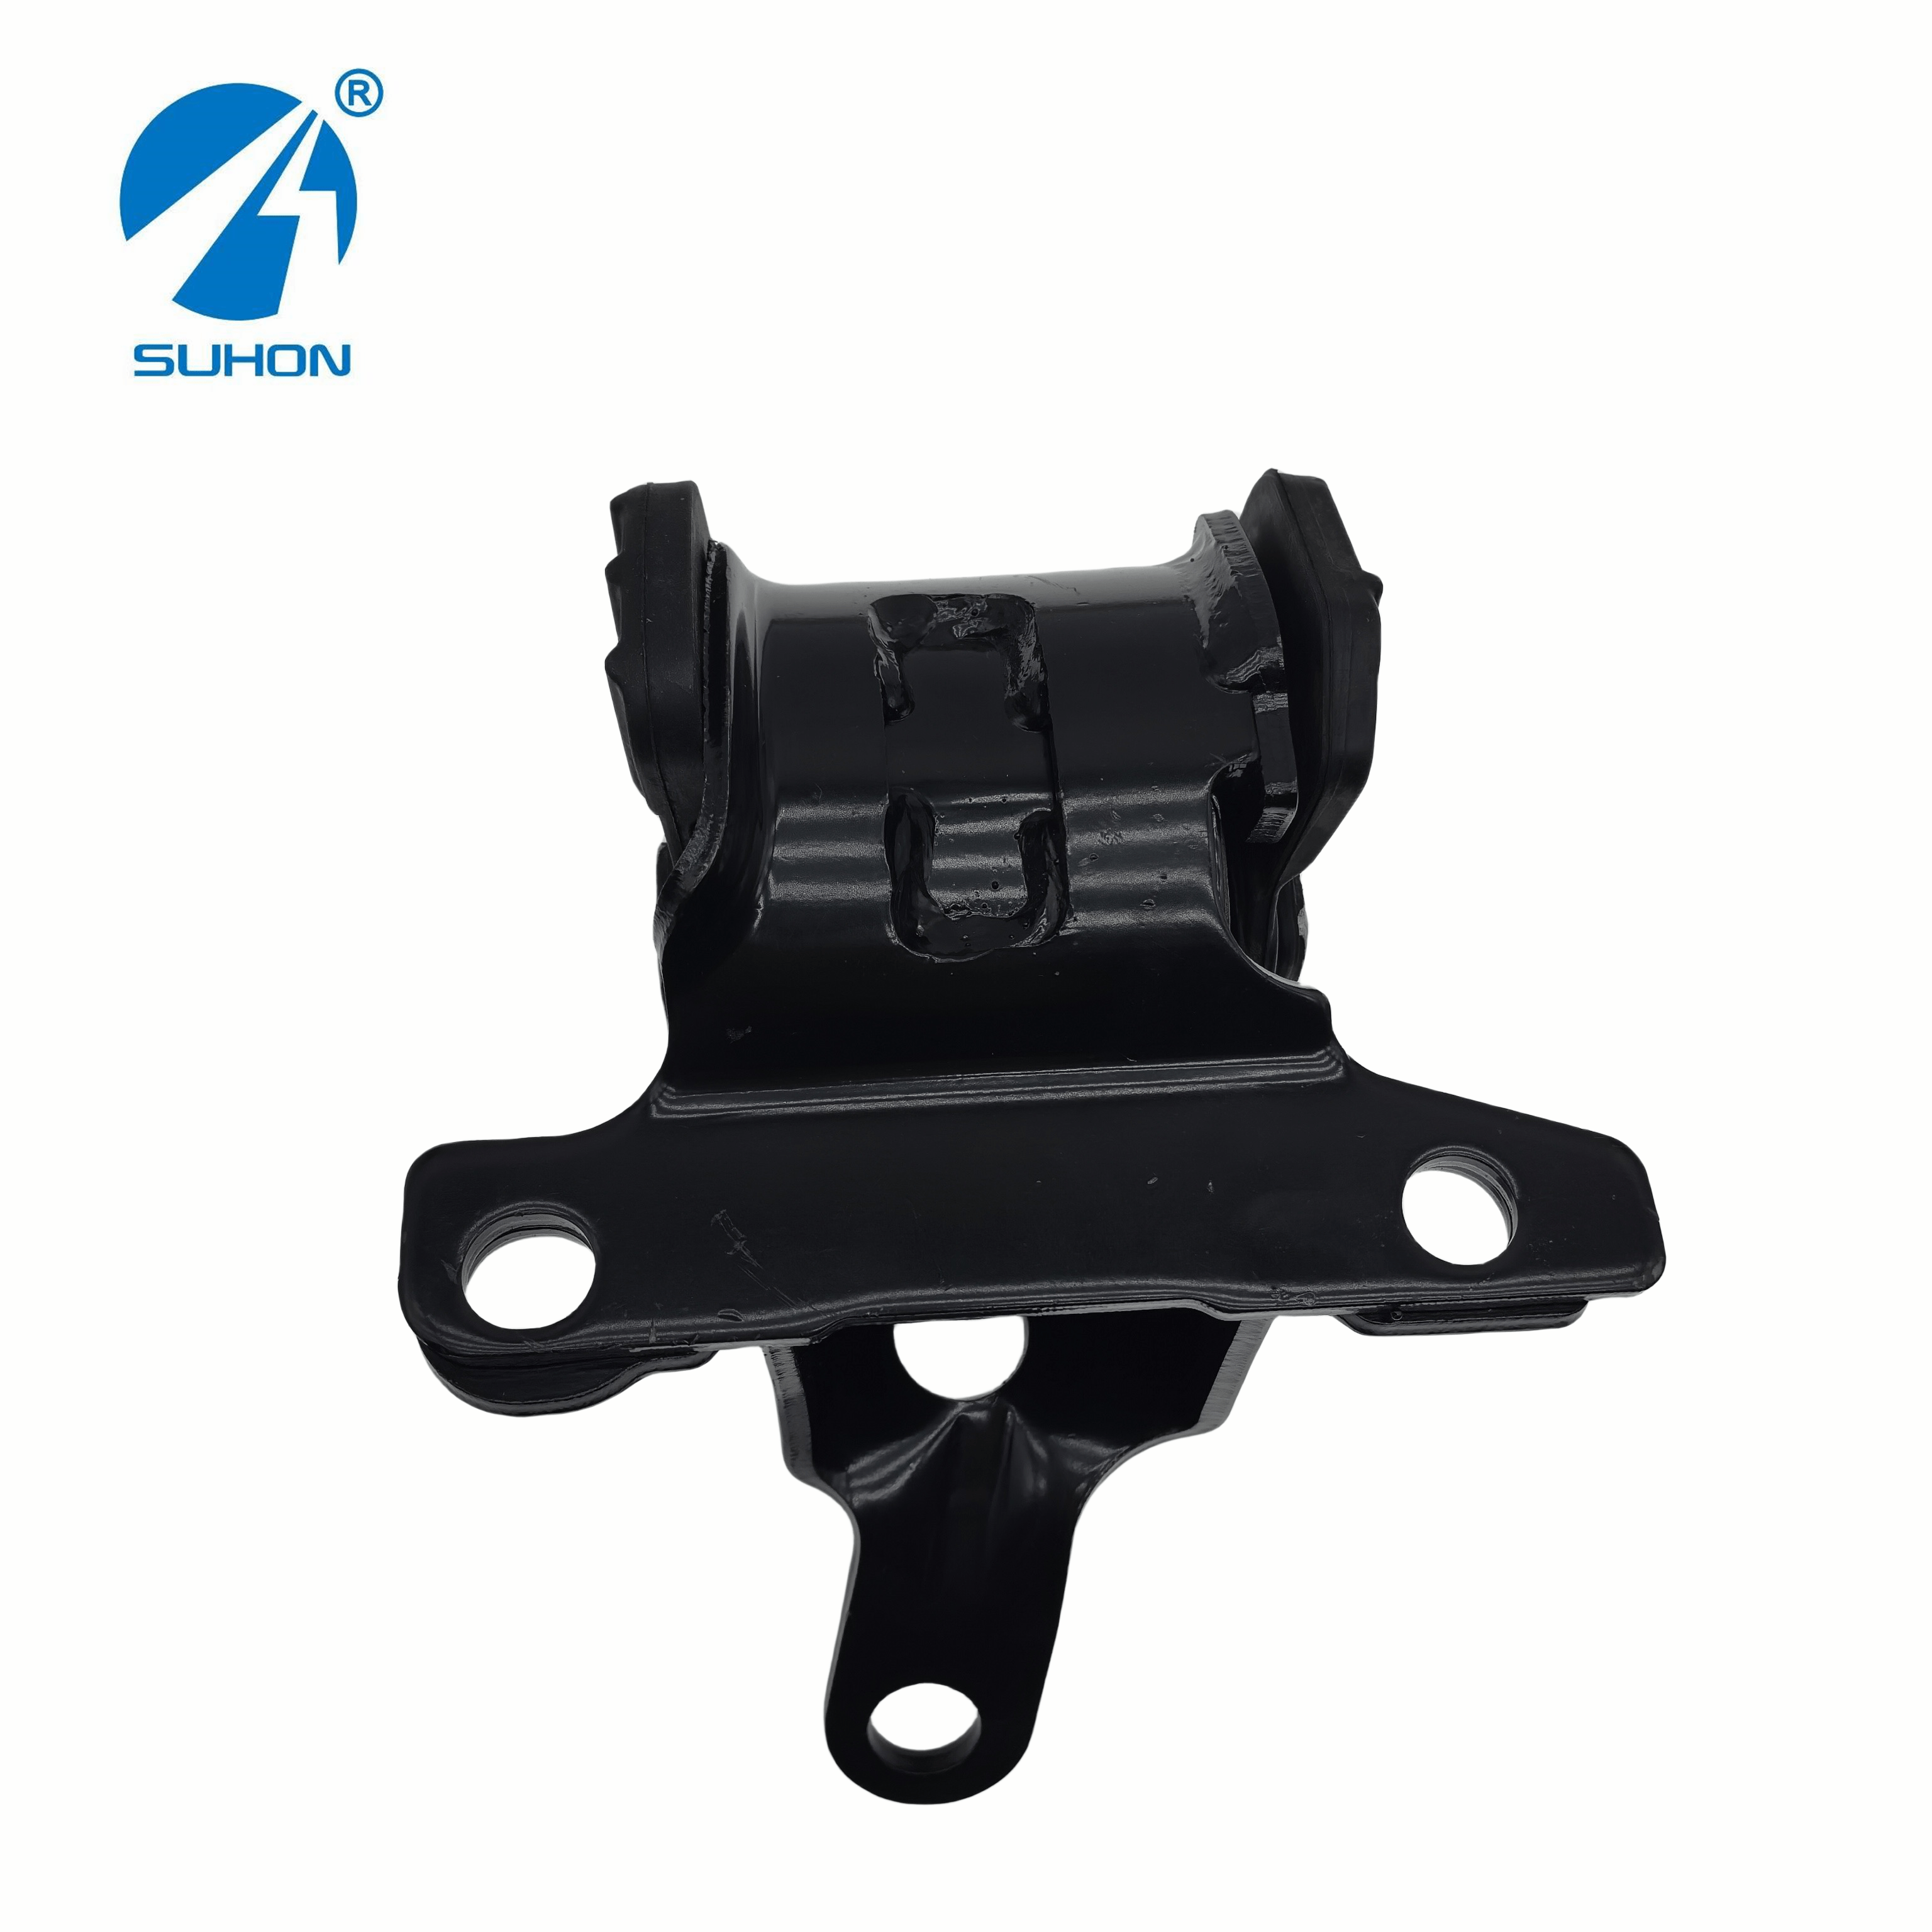
Before starting the job, gather everything listed below. Having the correct part number on hand—matched precisely to your vehicle—is essential. For example, Toyota applications commonly reference mounts in the 12372 series, while Mazda models use the 39-series OE numbering system. Suhon carries OEM-compatible options across both ranges.
Item | Purpose |
|---|---|
Floor jack and jack stands | Safely lift and support the vehicle |
Engine support bar or jack | Hold the engine while the mount is removed |
Socket set (metric and imperial) | Remove mount bolts |
Breaker bar | Break loose stubborn fasteners |
Torque wrench | Tighten new mount bolts to spec |
Penetrating oil | Free seized or rusted hardware |
Replacement motor mount | OEM-compatible unit matched to your vehicle |
Safety glasses and gloves | Personal protection |
Understanding how do you replace a motor mount starts with one non-negotiable rule: never work under a vehicle supported only by a floor jack. Always use rated jack stands.
Step 1 — Locate the failed mount. With the engine cold, inspect each mount visually. Look for torn rubber, metal-to-metal contact, or oil-soaked deterioration.
Step 2 — Disconnect the battery. Removing the negative terminal eliminates the risk of accidental engine starts during the repair.
Step 3 — Support the engine. Position an engine support bar across the engine bay or place a floor jack with a block of wood under the oil pan. The engine must remain stationary once the mount is unbolted.
Step 4 — Remove the mount bolts. Most mounts use two sets of fasteners: bolts connecting the mount to the engine bracket, and bolts anchoring it to the chassis. Apply penetrating oil to any corroded hardware and allow it to soak for several minutes before attempting removal.
Step 5 — Extract the old mount. Once all fasteners are removed, the mount should pull free. Some models require lowering the engine slightly to create clearance—adjust your support accordingly.
Step 6 — Install the new mount. Position the replacement mount and hand-tighten all fasteners before applying final torque. Tightening bolts unevenly can misalign the mount and cause premature wear.
Step 7 — Torque to specification. Consult the vehicle's service manual for exact torque values. Most passenger vehicle mounts fall in the range of 40–80 Nm, but this varies by application.
Step 8 — Lower the vehicle and test. Start the engine and check for unusual movement or noise. A brief test drive under normal acceleration confirms the repair.
Aftermarket mounts vary significantly in quality. A mount with incorrect rubber durometer, inadequate bonding, or imprecise dimensions will wear faster—sometimes failing within months of installation.
Kaiping Suhong Auto Parts Co., Ltd. has manufactured engine mounts for over 25 years, supplying OEM-compatible components for Toyota, Honda, Nissan, Mazda, Ford, Subaru, Renault, Benz, and BMW. The company uses Thailand RSS3 and Vietnam SVR3L rubber grades with a stable, tested formula, and holds ISO9001 certification. Every part is manufactured to match original equipment specifications, which means correct fitment, correct deflection rates, and verified durability.
For Mazda owners, the BC1D-39-040 is one of several OE-referenced mounts available in Suhon's Mazda and Ford product range. Toyota owners working on Camry or RAV4 applications will find comparable options under the 12372-21070 series numbering. Both are manufactured to the same quality standards and are available for direct inquiry through the Suhon website.
Using the right OE part number eliminates guesswork. To identify the correct mount:
Locate the vehicle identification number (VIN) on the dashboard or door jamb
Cross-reference the VIN with your vehicle's service manual or a parts database
Match the OE part number to a Suhon-compatible replacement
Confirm the mount position (front, rear, left, right, or torque rod) before ordering
When in doubt, contact Suhon's team directly email (kathy@suhonauto.com) with your vehicle details for a verified part recommendation.
A motor mount replacement done correctly—with a quality part and proper torque—should last well over 100,000 km under normal driving conditions. Cutting corners on either the process or the component defeats the purpose of the repair.
Suhon's catalog spans hundreds of OEM-referenced applications across major vehicle brands. Browse the full product range at suhonauto.com or reach out to the team for a custom recommendation matched to your exact vehicle.
Most motor mount replacements take between 2 and 4 hours for a competent DIY mechanic. Professional shop times vary by vehicle and mount location, but most jobs are completed in a single service appointment.
Driving with a failed motor mount is not recommended. Excessive engine movement stresses connected components—including CV axles, exhaust pipes, and radiator hoses—and can cause secondary damage that significantly increases repair costs.
Not necessarily. Mounts should be inspected individually and replaced based on condition. That said, if one mount has failed due to age or wear, others of similar age are worth inspecting carefully, as they may be close to failure as well.
OEM mounts are manufactured to the vehicle maker's original specifications. High-quality aftermarket mounts, such as those produced by Kaiping Suhong Auto Parts, replicate these specifications precisely—including rubber compound, bonding method, and dimensional tolerances—and offer comparable performance at a more accessible price point.
Match the OE part number from your vehicle's service manual to the supplier's catalog. Suhon lists OE reference numbers for all products and provides direct technical support to confirm compatibility before purchase.


